How can I use the form response to personalize the confirmation message in Google Forms?
This is a common question from Google Forms users who take signups. For example, a plain thank you does not tell people what they chose or what to do next. They may need a reminder of the pass they picked or a date to pay by. Google Forms lets you change the confirmation message, but it shows the same one to everyone, so you have to send these details by email yourself. With Formfacade, you can personalize the confirmation message and each user will see it with their own name and answers. Even better, you don't have to send those emails for every signup.
Let's start. Create your form and follow the steps below.
How to personalize the confirmation message?
- On the page that opens, name your form, click Build form and click Proceed. It can take about a minute.
- You will land on the form's "Preview" tab.
- Click on "Edit" tab

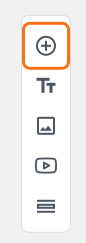
- Click on the + icon (Add field) in the toolbar on the right. A new question will be added.
- Enter "First Name" as the question. It is already a Short answer.
- Click on the + icon again
- Enter "Choose the pass" as the question and select Multiple choice in the question type list
- Type the first answer choice in the first box, then click Add Option and type the next one. Do this for each answer choice.
- Scroll down to the end of the form and click on the gear icon on the last "After page" row. It says "After page 1" on a form with one page. The panel can take a few seconds to open, so click once.
- If it asks "Button not configured!", click No.
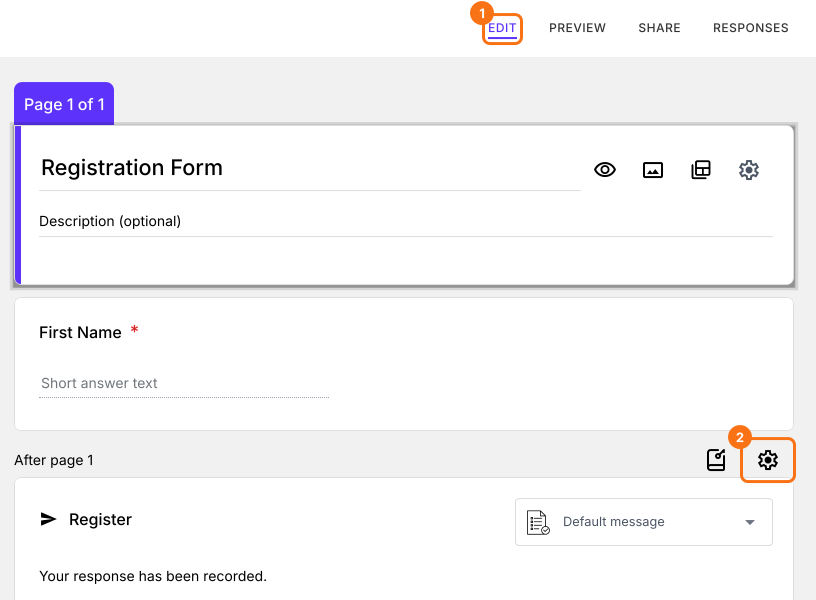
- Button settings panel will be displayed
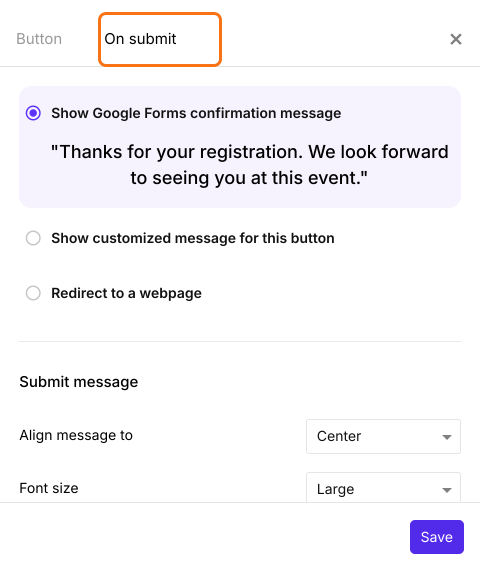
- Select the "On submit" tab. The default option is to show the confirmation message configured in Google Forms.
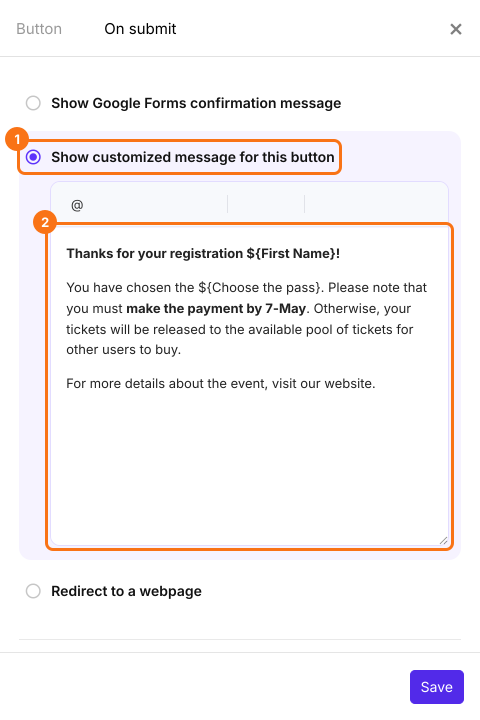
- Select "Show customized message for this button"
- Enter your message
- Click on the @ icon in the toolbar. You will see the list of all the fields in the form. Typing @ in this box will not show the list.
- Select the required form field. It will automatically insert the field id inside ${}.
- Select Response to show all the answers the user has filled in the form
- Click on the Save button
The Submit card may still say "Default message" until you reload the page.
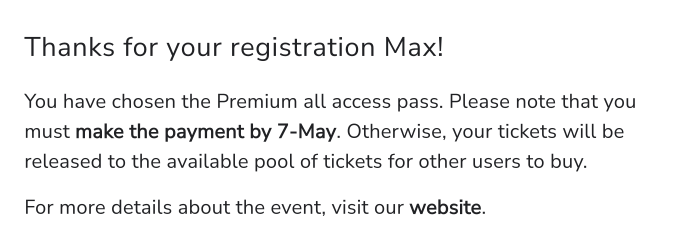
Each respondent now sees a message with their own answers. Personalized confirmation message based on the first name and package details submitted by the respondent (see screenshot below).
Summary
If you want to thank each user by name and repeat what they chose, Google Forms shows the same confirmation message to everyone. With Formfacade, you write a customized message with the fields from the form and each respondent sees a message with their own answers. Create your form and complete the steps above.
Last updated: